
Morning All! It’s Lisa here with a new ‘Digi Stamp Project' and today I’m showcasing the Folk Snowman 4 digi stamp:

I have hit that time of year where I seriously start to work on my Christmas Cards. I like to make several small batches of a range of simple designs as I find these perfect for mailing to distant friends and relatives.
Before I show you my project I thought it would be a perfect time to run through how to resize a digi image and fill a whole page ready for a mini production line on the making!
How to print and resize a digi stamp (Please click on the screen shots to make them larger):
- Open up a blank document in Microsoft Word.
- Click on ‘Insert’ from the top menu and then click on ‘Pictures’
- Click on the Folder where you store your digital images and select the image you want to use

- To change the size of the image either click on the bottom right corner and drag out to make larger or in to make smaller. Or if you know the exact size you require and depending on which version of word you have you may be able to resize the image by entering the size into the toolbar on the top right

- Click on the image with the right mouse button and select ‘Copy’ and then click again with the right button and select ‘Paste’ you can keep doing this until your page is full of images.
- If you plan to die cut the images after printing remember to space them apart on your page.


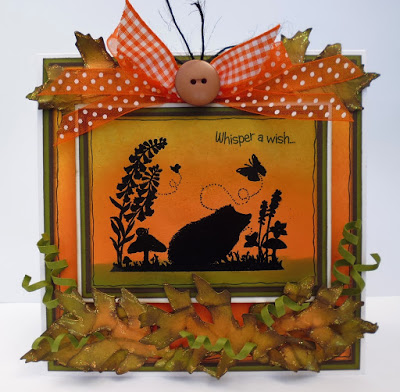
Now here is the first card from the batch of Christmas Cards I am making with this image:
")
For the step by step I will give the instructions for making one card but when I’m making a batch of cards I do all the cutting and die cutting in one go, all the colouring in one go, all the stamping in one go…..you get the idea!!
Supplies:
-
Folk Snowman 4 Digi Stamp
-
Alcohol Markers
-
Kraft Card, White Stamping Card and Gold Glitter Card
-
Scraps of Christmas Patterned Paper
-
Small Fancy Square Die
-
Heart Punch and Square Punch
-
Sentiment Stamp and Brown Ink
Step by Step:
-
Cut a 9cm square piece of Christmas patterned paper and mat onto Kraft card. Fix to a 10cm square card blank.
-
Cut a small strip of Kraft card and stamp the sentiment in the centre. Trim the ends into a fishtail using the corner of a square punch. Shape slightly using your thumbs or the barrel of a marker pen and fix to the card blank.
-
Print the image (as explained above) onto white stamping card and cut out. Don't bother cutting around the heart as this will be covered up.
-
Colour the image with alcohol markers mat onto a fancy square die cut from Kraft card. Fix to the top centre of the card blank.
-
Punch a small heart from glitter card and fix over the hear on the image.
I hope you like my project and are inspired to try something similar. My blog is www.craftingbelle.blogspot.com if you would like to see some more projects.
Thanks for stopping by


Fab card and thank you for all your instructions! So kind! xxx
ReplyDeleteBeautiful Lisa...brilliant tutorial and design. Thank you for sharing xx
ReplyDeleteGorgeous card x
ReplyDeleteSo cute! I love snowmen! Thank you for the tut!
ReplyDeleteThank you for such a great tut, really helpful and of course, a lovely card too x
ReplyDeleteThat snowman is so cute!
ReplyDelete